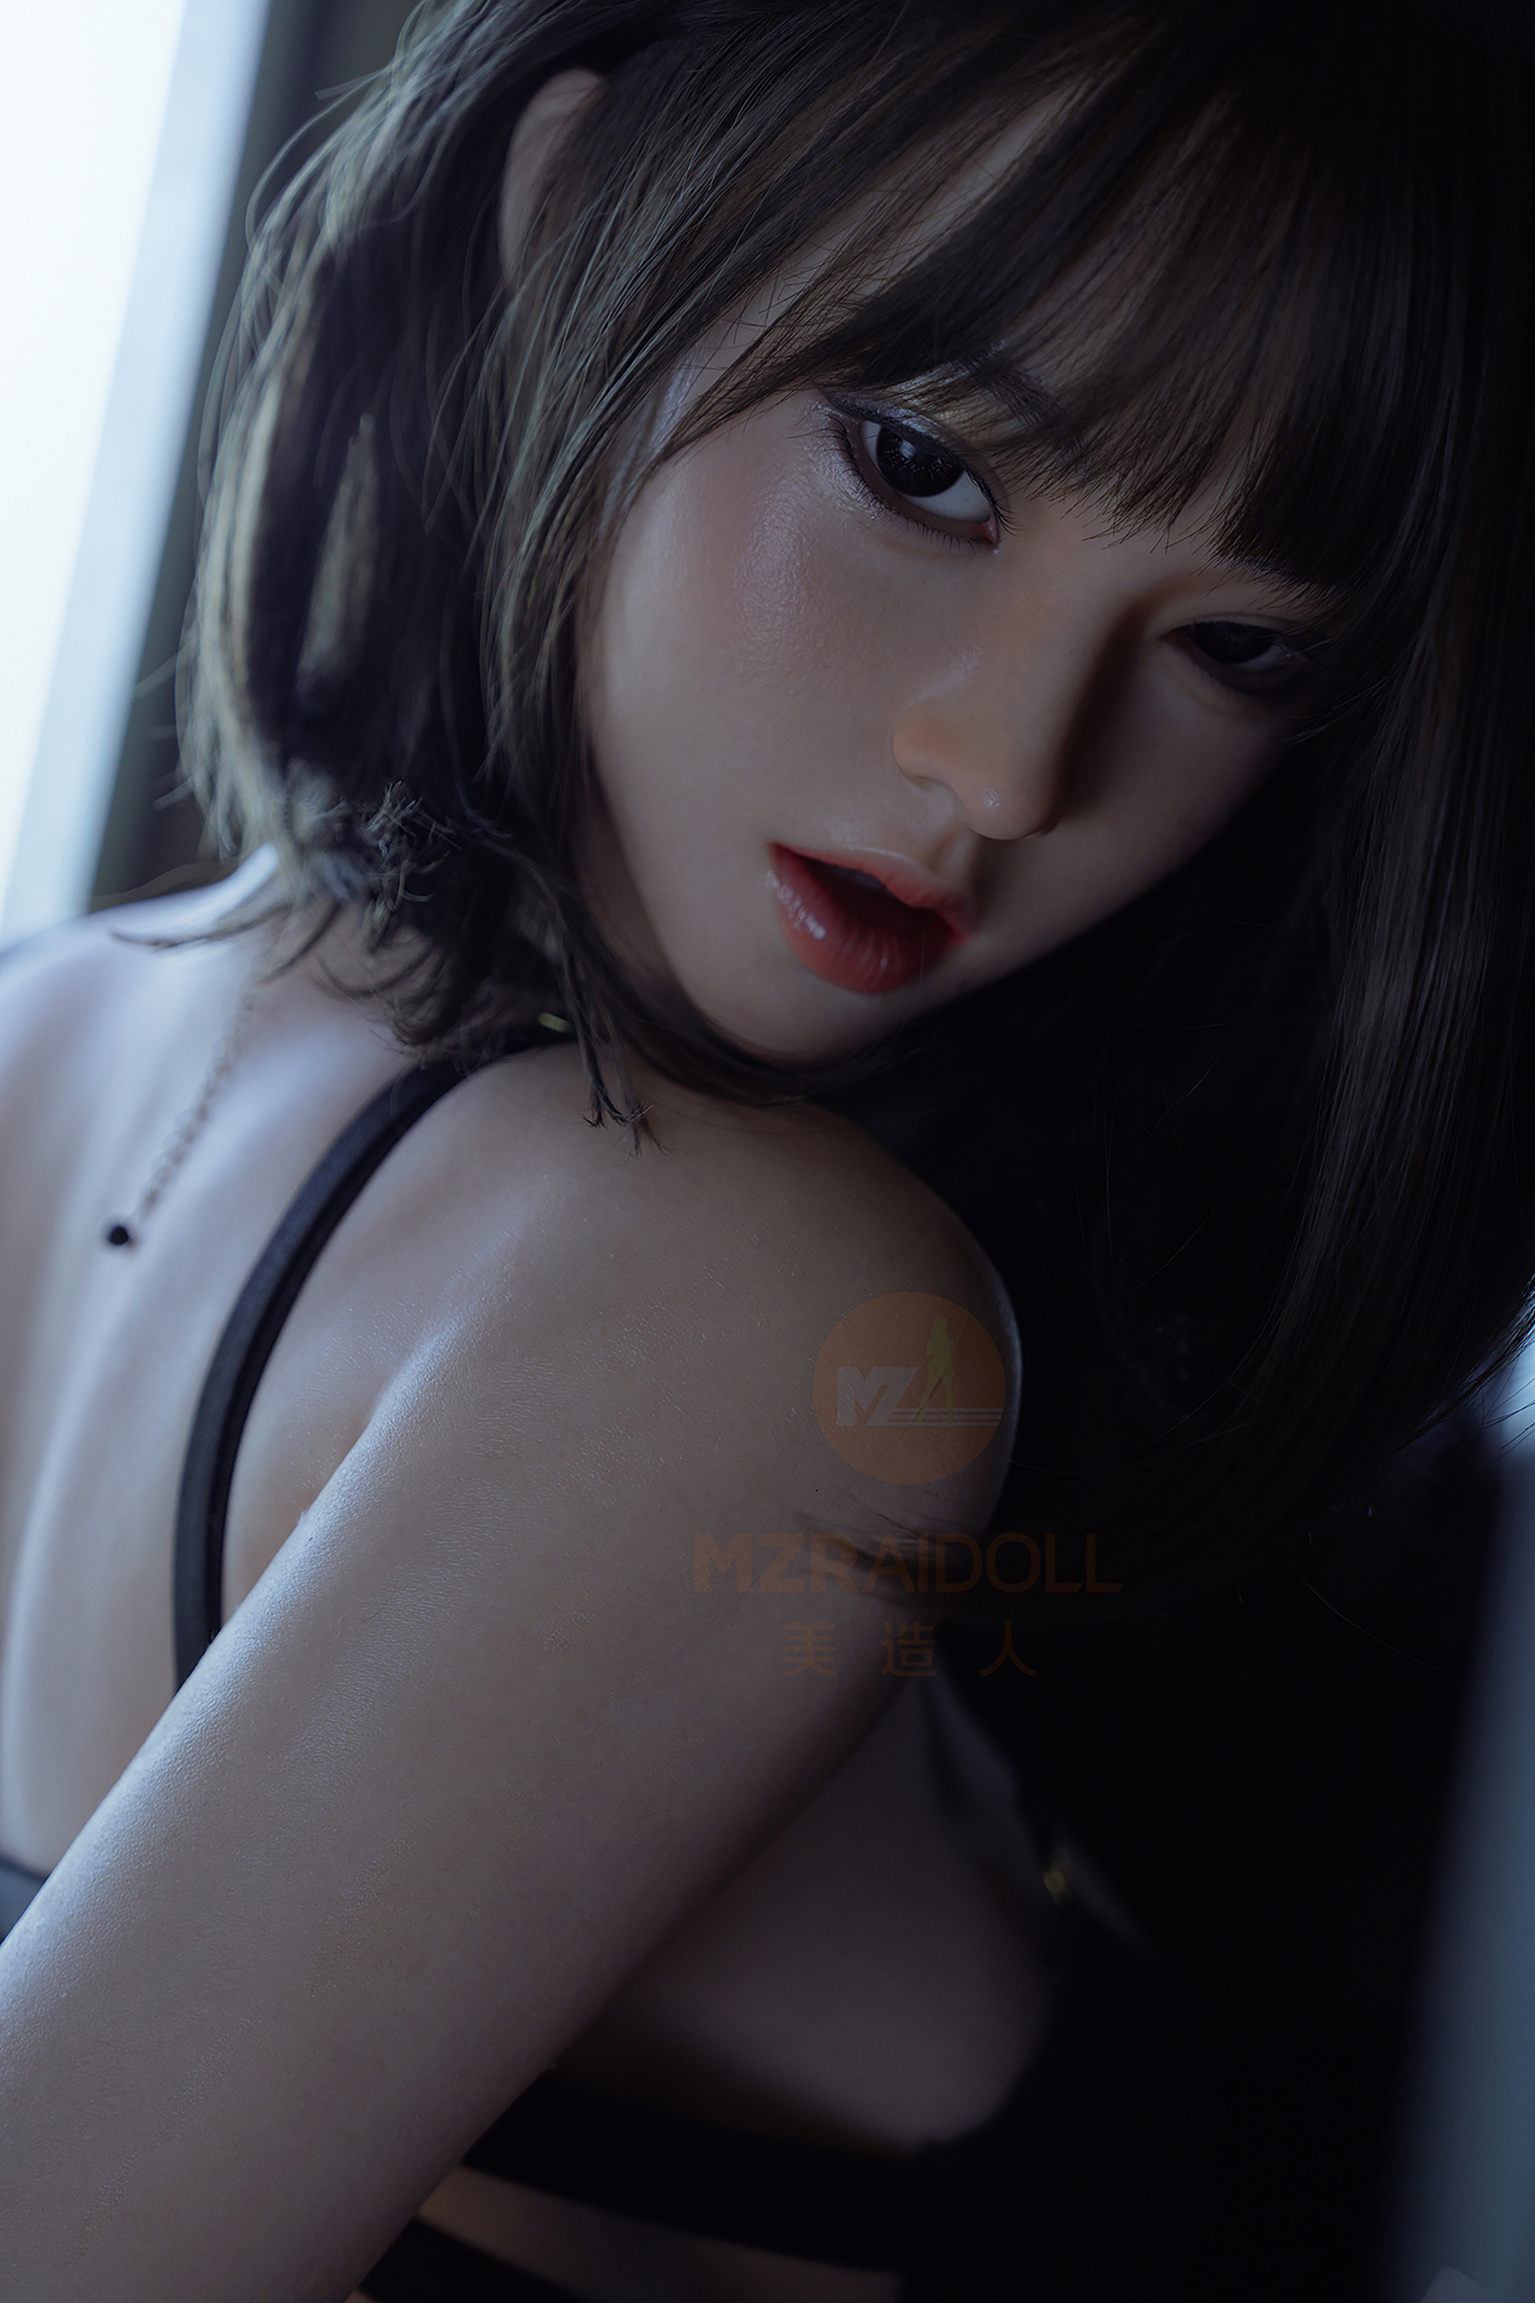
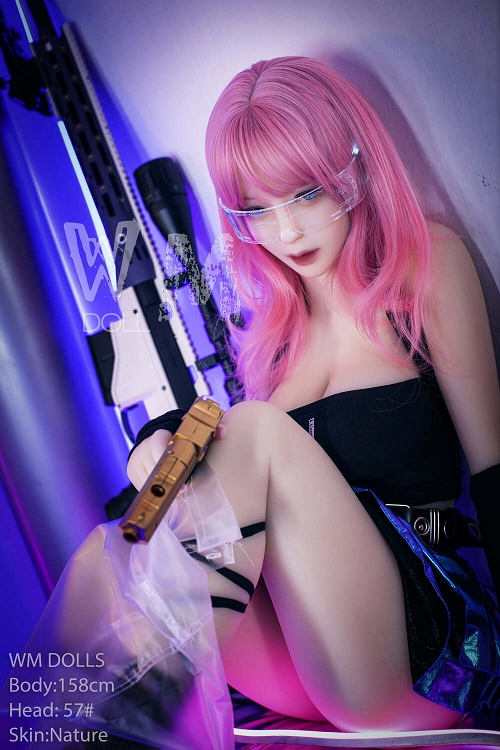
✨ The Philosophy: She Deserves Gallery Lighting, Not Bedroom Lighting
A premium cos sex doll is already a perfect model: zero blemishes, infinite patience, flawless proportions. The only variable left is you — and the light + post-processing you give her. The following workflow is used by the top 1 % of doll photographers whose prints sell for 4–5 figures and hang in private galleries.
📸 Stage 1 – Capture in Museum-Grade RAW
Camera: any modern full-frame (Sony A7R V, Canon R5, Nikon Z8)
Lens: 85 mm f/1.4 or 105 mm f/1.4 macro (zero distortion, creamy bokeh)
Light: 99+ CRI LED panels (Godox SL150III or Amaran 200x) + large 150 cm parabolic softbox + negative fill
Exposure: base ISO 64–100, f/1.8–f/2.8, 1/160 s, manual white balance 5600 K
File: 14-bit uncompressed RAW + ProPhoto RGB color space
🌿 Stage 2 – Cinematic Film Emulation Base (Lightroom Classic)
Preset foundation (free or paid, all 2025 updated 2025):
Import → Lens Profile Correction ON
Profile → Adobe Color → switch to “Camera Neutral v2”
Apply one of these film-emulation LUTs as starting point:
Portra 400 +1 stop push (warm, creamy skin)
Fuji Pro 400H (soft teal shadows, gentle highlight roll-off)
Kodak Vision3 250D + bleach bypass 30 % (cinematic, slightly desaturated)
Curve: subtle filmic “S” (shadows +12, highlights –10, gentle shoulder)
🖌️ Stage 3 – Skin Science: Retain Silicone Texture, Remove Nothing
Goal: keep the micro-texture of platinum silicone/TPE while achieving porcelain glow.
Lightroom:
Texture +18 / Clarity +12 / Dehaze –8
Sharpening Amount 45, Radius 1.0, Detail 75, Masking 90 (hold Alt while dragging to protect skin pores)
Noise Reduction Luminance 20, Detail 70 (silicone is noiseless, but protects against color noise in shadows)
Frequency separation in Photoshop (advanced):
16-bit duplicate layer → Gaussian Blur 8 px → Image → Apply Image (subtract, scale 2, offset 128) = high-frequency texture layer
Low-frequency layer: heal any dust or seams with generative fill
High-frequency layer: set to Linear Light, add subtle grain 6 % monochrome
Result: skin looks touchable, not plastic.
🌌 Stage 4 – Professional Color Grading (DaVinci Resolve or Lightroom)
2025 trending palettes:
A. “Cyber-Renaissance”
Shadows: teal-orange split +10
Midtones: rose gold boost (+8 magenta, +12 red)
Highlights: soft bleach 15 %
Film grain 8 % 35 mm fine
B. “Anime Film Look”
Shadows: deep indigo (−20 yellow)
Midtones: pastel pink push
Highlights: gentle halation (Glow 12 %, bloom threshold 0.82)
Add subtle chromatic aberration 2 px
C. “Vogue Noir”
Black & white conversion
Channel mixer: Red 80 %, Green 10 %, Blue 10 %
Add ultra-fine 25 µm grain + soft vignette
🎞️ Stage 5 – Light Shaping in Post
Dodge & Burn non-destructive layer (50 % gray, Overlay blend)
Dodge cheekbones, collarbones, inner thighs
Burn under chin, sides of nose, hairline
Radial gradient filters for Rembrandt or butterfly lighting enhancement
Glow layer: duplicate → Gaussian Blur 60 px → Screen 15 % → mask to eyes & lips
🌟 Stage 6 – Final Polish & Export for Print
Upscale with Topaz Gigapixel 7 (6×) if printing >A2
Soft proof: paper profile (Hahnemühle Photo Rag Baryta 315 gsm)
Output sharpening: PK Sharpen 120 %, radius 0.8 px
Export: TIFF 16-bit ProPhoto for archival printing, sRGB JPEG 100 % for social
📱 Ready-Made 2025 Presets & LUTs (Free Download Links)
“Leibovitz Doll” Lightroom preset pack (link)
“Cyber-Renaissance” DaVinci PowerGrade (link)
“Anime Bloom” 35 mm LUT (link)
✨ Closing Thought
A cos sex doll photographed and edited with this workflow no longer looks like a doll — she looks like a living muse captured by a master. When you finally print the best shot at 60 × 90 cm on baryta paper and hang it under museum LED track lighting, the transformation is complete: she has moved from the bedroom to the gallery, and become art.
That is the only standard she truly deserves.


